


Installation Guide
Not a plumber? No worries. We designed our water filtration products with an easy installation that should take you less than 5 minutes.
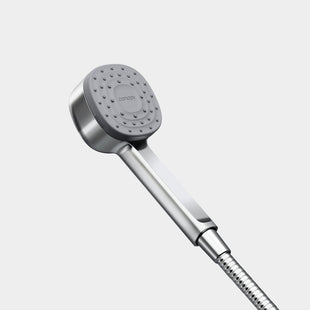
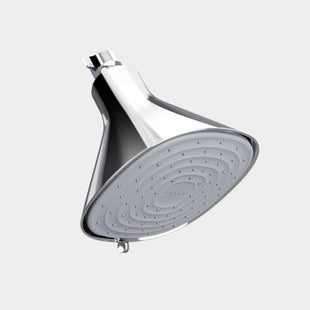
Filtered Showerhead installation video
In this video we'll cover everything you need to know about what comes in your package and how to install your showerhead.
Shop Filtered Showerhead
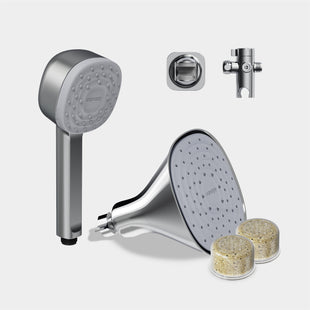
Handheld Filtered Showerhead installation video
In this video we'll cover everything you need to know about what comes in your package and how to install your handheld showerhead.
Shop Handheld
Replacing your showerhead restrictor & filters
Shop Filters
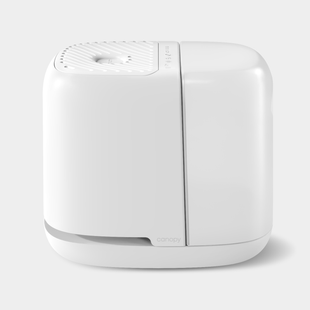
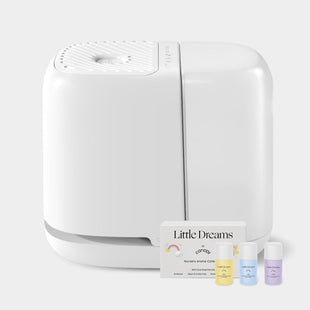
Bath Tub Filter
installation video
In this video we'll cover everything you need to know about what comes in your package and how to install your bath tub filter.
Shop Bath Tub Filter
Ready to experience your cleanest clean?
Shop Now